Building a Wicking Garden Bed yourself is so much easier when you understand some key pointers about how and why they work. There are lots of online videos on the building of them. Let’s instead consider some key understandings and tips that will allow you to improvise a little to create the best DIY wicking bed for your place with materials locally available.
These are the things that really matter!
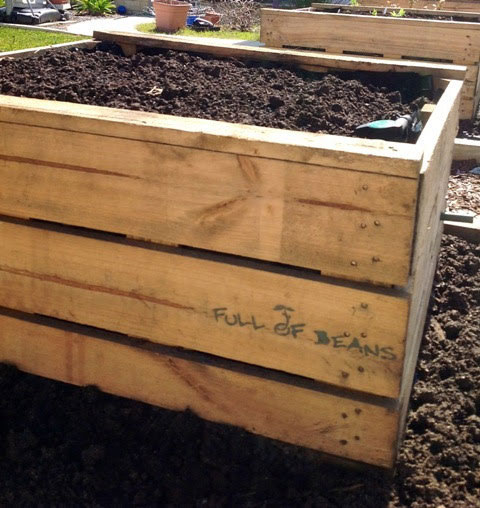
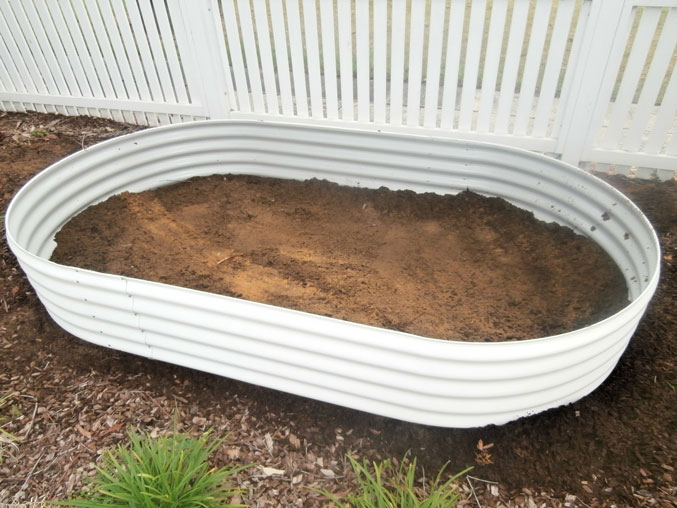
1. Framework Selection
The housing for your wicking garden can be made of many different materials… so consider them all for look and durability! Whether it’s a large plastic tub, steel planter, brick bed, a wooden box set up or any other combination; this is to be the framework that will hold it all together.
- A wicking garden can have a long life so make sure whatever you use is sturdy enough to hold it’s shape and will last in your conditions for at least 10 years.
- The reservoir within needs to be kept safe by this framework, so don’t have any gaps in the walls if using a soft plastic liner.

2. Protecting the Sacred Reservoir
One way of understanding a wicking garden is that you have brought the water table upto the toes of your garden bed soil. From there capillary action draws the moisture up evenly for the roots to grow down to — it’s very simple! It is key that:
- This reservoir is going to last. Be sure to use two layers if using heavy duty builders plastic or choose a quality pond liner instead. In both cases lining with layered wet newspapers before adding the wicking materials makes sense for added protection.
- A preformed plastic reservoir should be watertight– check that it is– and make sure it doesn’t leak around the fittings when you do those.
- The reservoir is continuous to the top of your garden bed. A ‘water table’ is also attractive to neighbouring trees and shrubs – so don’t let their roots climb in and suck it dry! I’ve seen this mistake made before and it creates some big headaches.

3. Options for Wicking Materials
There are a bunch of options for creating this layer which has the role of creating lots of spaces for water to fill until it is wicked up naturally.
- Scoria volcanic stone or fancy drainage cells have the benefit of being lightweight to install which for some garden locations is mighty helpful.
- Blue metal stone, gravels and broken up old bricks and debri work well too. The latter can mean a bit of a garden tidy up happens at the same time!
- You can even include old fabrics, busted terracotta pots, hanging basket fibres and old bedraggled rope to tuck in amongst the stone and encourage stronger wicking; see what you can find!


4. Wick Exchange Top Tips
The temptation is to smooth the wick layer off nice and level before fitting the fabric liner (something like weedmat or geomat to keep your reservoir clean) but don’t do it!
- Dips and undulations will allow the compost to nose down into the reservoir and draw up the water easily.
- It’s like creating multiple wicking hotspots within your wicking bed, with very little actual effort!

Having more organic chunks in the compost will help it wick better, but the wick effect — water moving from wet to dry soil particles — generally happens across a 20-25cm distance only. With this in mind:
- a compost depth of around 30cm is as deep as you’d want to go so measure down from the top to position the overflow pipe. It’s best if the wicking layer is at least 15 cm deep so this may impact the overflow pipe location too.
The use of an elbow and 10cm poly pipe fixing is a way to adjust the height setting of the ‘water table’ that you’ll see done in this video (how to video), it’s a clever move allowing for subtle seasonal and veggie variety adjustments!
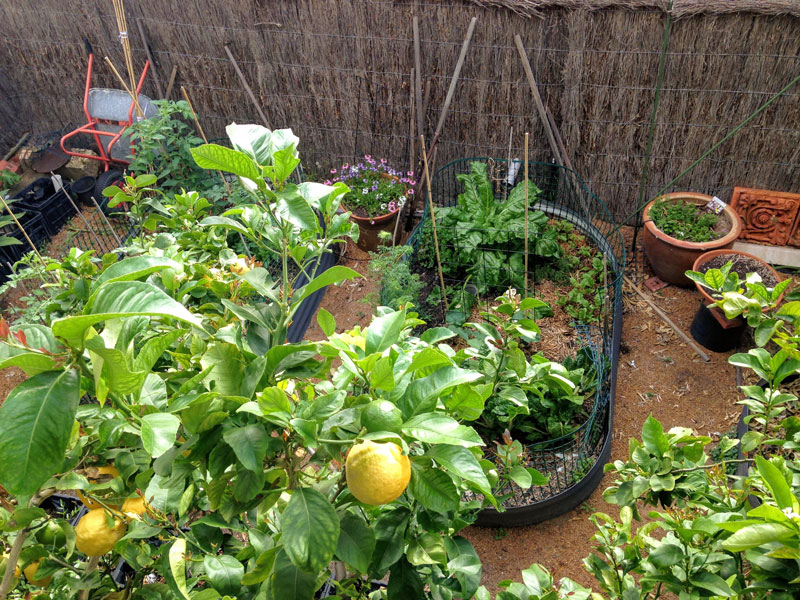
5. Planting & Watering your Wicking Garden
The wicking garden you’ve created is in many ways a living entity, or at least that is a good way to view it when it comes to watering.
- The idea is to give it opportunities to breathe, watering should be done in intervals that allow the reservoir to get low and refill rather than be constantly topped up. You don’t want to create a wet smelly bog that suffocates or stifles growth and you want the roots venturing down and about in search of moisture for greater plant resilience (and fruiting!).
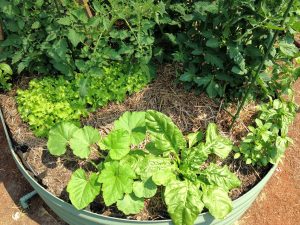
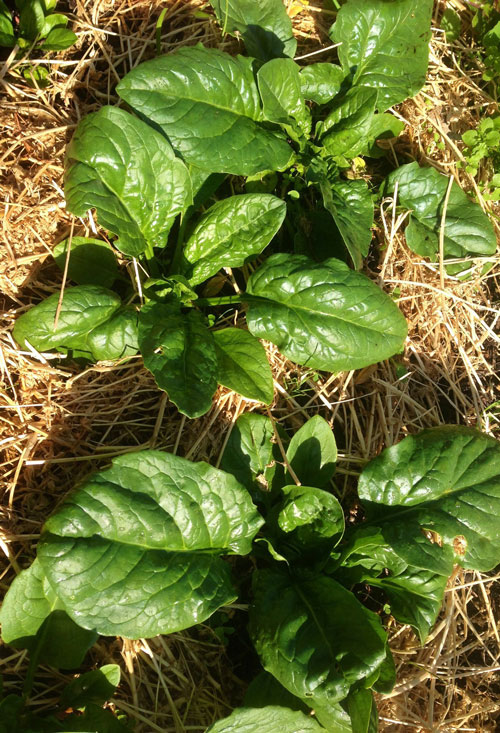
- You can also plant seedlings with high water needs or shallow roots such as lettuce, english spinach and celery slightly deeper to give them a helping hand.
- A generous mulching helps too, as wicking gardens tend to dry out across the top level of soil without this in the warmer months. It also shades the new seedling roots and soil life!

So I hope that helps with making your DIY Self-Wicking Garden. It takes a little effort to set up but is a very smart way to manage the watering of any kitchen garden. Best of luck!
There is no gardening without humility. Nature is constantly sending even its oldest scholars to the bottom of the class for some egregious blunder.
— Alfred Austin